How to Set Up a Photo Booth - Tips for a DIY Photo Booth

Back when it was invented in 1925, the photo booth was so successful that 280,000 customers flocked to the first booth in New York City’s Times Square in the first six months. Due to its immense popularity, photo booths soon became a commonplace sight at game arcades, five-and-dimes, amusement parks, state fairs, and bus depots. If you ever crowded into one of these compact booths with friends, a loved one, or kids, you know how much fun they provide. There is something magical about hiding behind the curtain and capturing silly expressions, quick kisses, or goofy antics and waiting for the strip of photos to come out of a slot. Although most of these booths have vanished from the American landscape, you can recapture the nostalgic magic by setting up a home photo booth.
A DIY photo booth setup isn’t literally a self-standing cabinet with a curtain, however, you can still recreate the fun the original ones provide. Wedding photo booths are trendy, so it’s easy to find any number of articles discussing how to set one up at receptions. Weddings aside, the sky’s the limit as far as photo booth ideas and themes. While you need to consider the type of event, age of your guests, and location to guide the theme, backdrop, and props, most of the equipment applies to any DIY photo booth.
Photo Booth Equipment
- Digital point-and-shoot camera
- Camera tripod
- Backdrop stand (optional)
- Backdrop and props
- Spotlight (optional)
- Painter’s tape
- Hammer and nails
- Large clamps
- Remote shutter release
Photo Booth Camera
A basic digital point-and-shoot camera is ideal for a DIY photo booth. A tripod is essential for taking focused shots, especially in lower-light situations. If you want to mirror a true photo booth experience, a remote shutter release allows guests to take their own photos. If you don’t have a digital camera, a high-quality smartphone will suffice, but you’ll need a special bracket to attach it to a tripod. You’ll also need to purchase a Bluetooth camera remote shutter for smartphones to provide guests with the ability to take their own pictures. Regardless of the setup, it’s important to test the method repeatedly to avoid photo booth meltdown on the day of the special event.
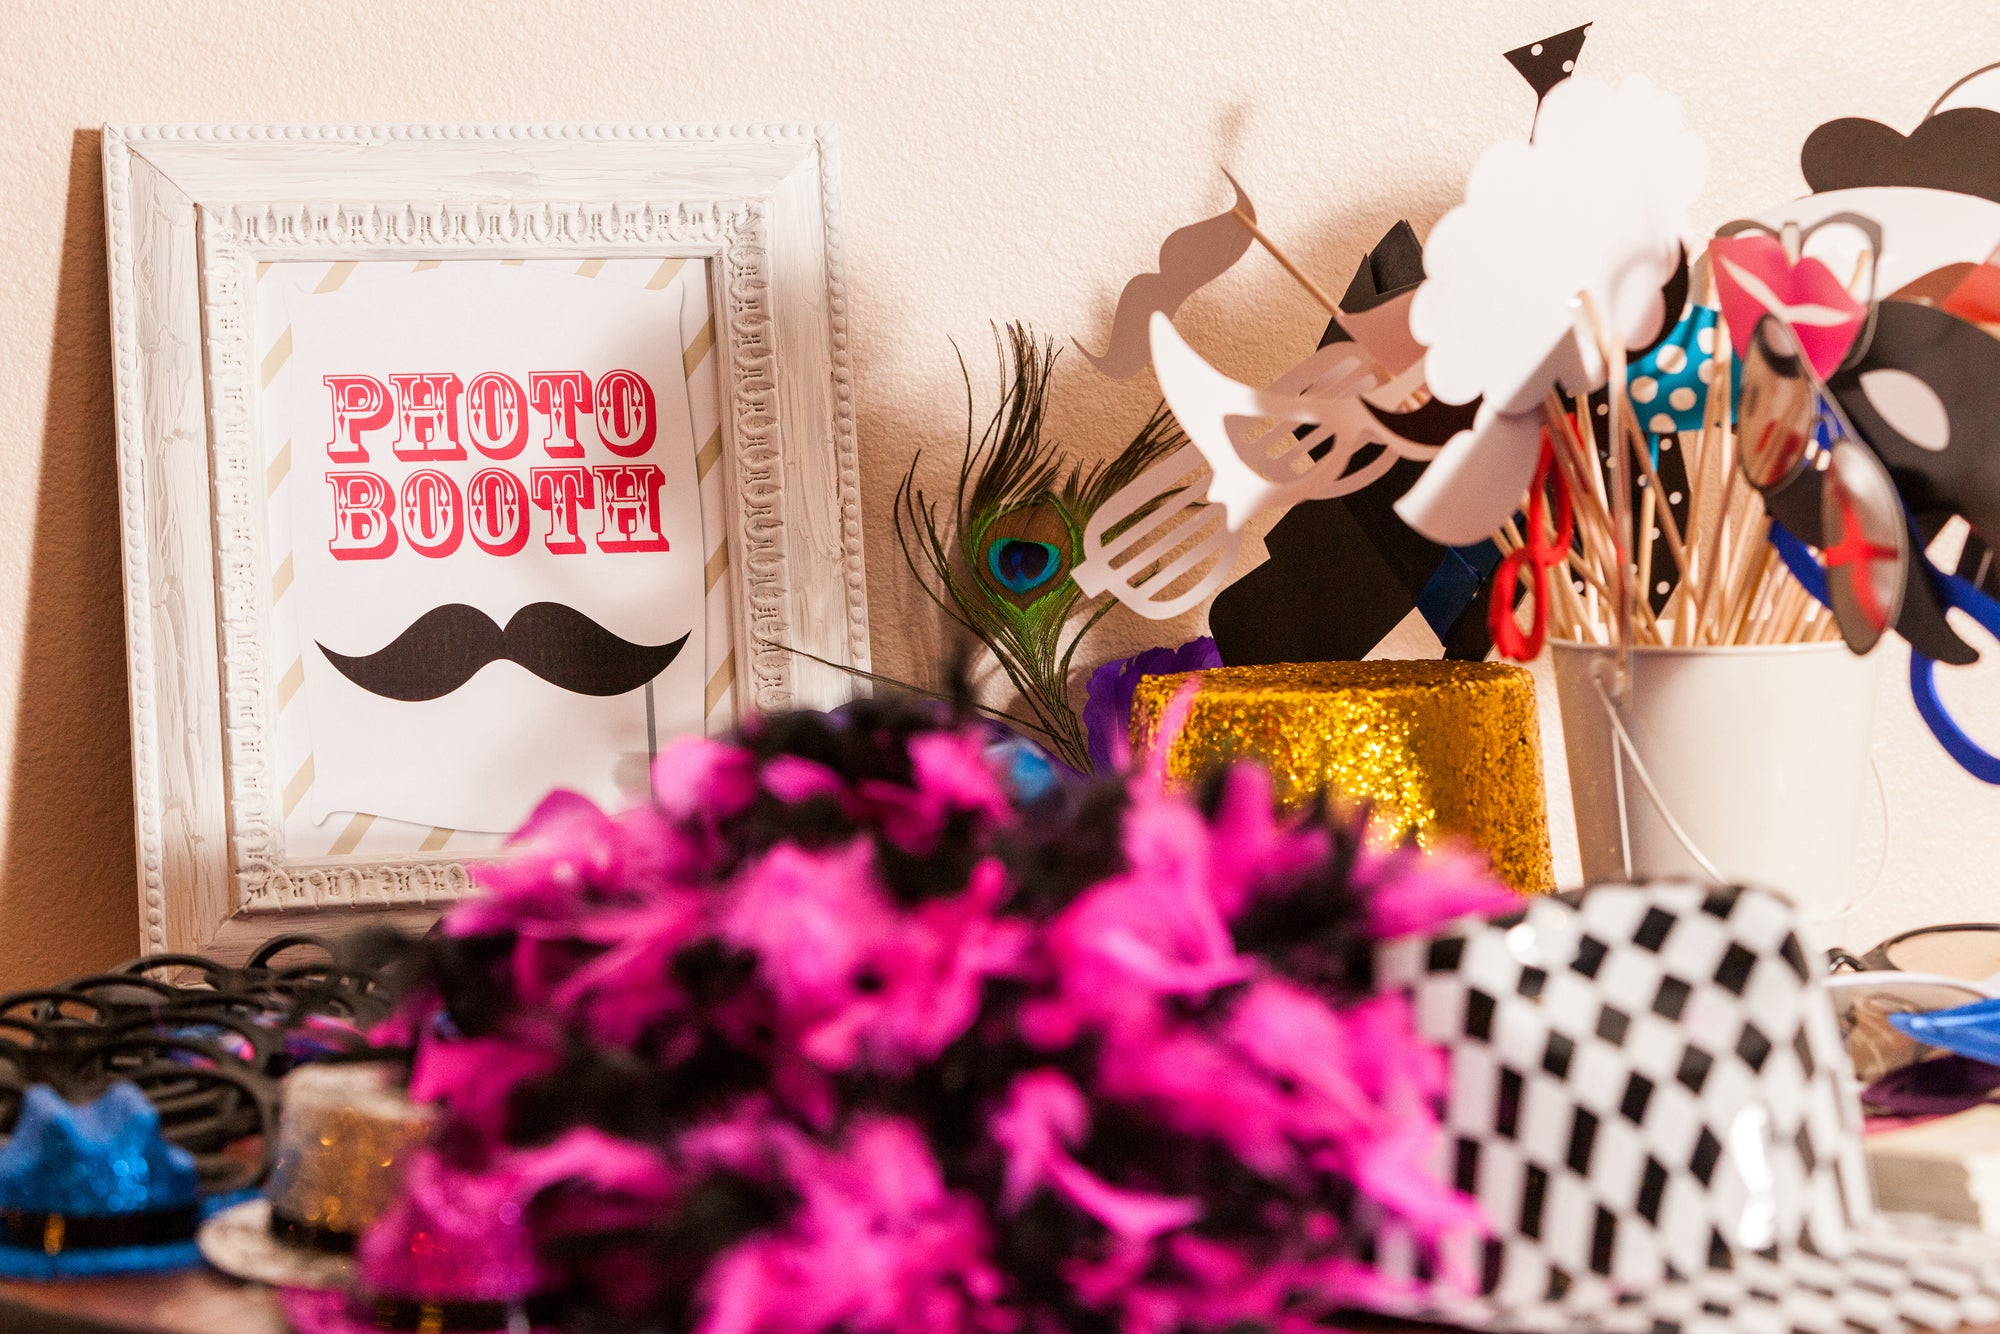
Backdrop and Prop Ideas
If you’re looking for simplicity, a roll of non-reflective seamless paper tacked to the wall works well. Streamers, balloons, fabric, and paper décor are fairly inexpensive ways to add pizzazz to your background. If the event is outside, you can add a string of lights to foliage, drape fabric, or hang colorful paper lanterns from nearby tree branches.
Thrift stores are a good source for unique vintage props – look for cameras, globes, suitcases, musical instruments, telescopes, large animal figurines, pottery, or anything else large and bold enough to stand out in a photograph.
How to Make a Photo Booth
- Select a space with a wall that can accommodate your backdrop. Ideally, it should measure 5 feet wide and 3 to 4 feet tall to frame three to five people in shots from the waist up. After you’ve chosen the location, remove all existing wall décor and furniture from the space. Cover any windows with a dark cloth so the flash will be triggered. Use painter’s tape on the wall to guide where to hang the backdrop.
- Mount the camera on the tripod and place it a few feet away from the wall. Ask for a volunteer to help you perfectly frame the shot. Use the same painters tape to mark an X on the floor for your tripod and two lines to indicate the front and back perimeters of where guests should stand or sit (if you included chairs). Set up the remote shutter release and test it several times before the event starts.
- The simplest way to create a prop station is to hang objects from the ceiling using twine and push pins. Make a cute or clever sign near the prop table directing guests to stand or sit where indicated, pick a prop, and strike a pose.
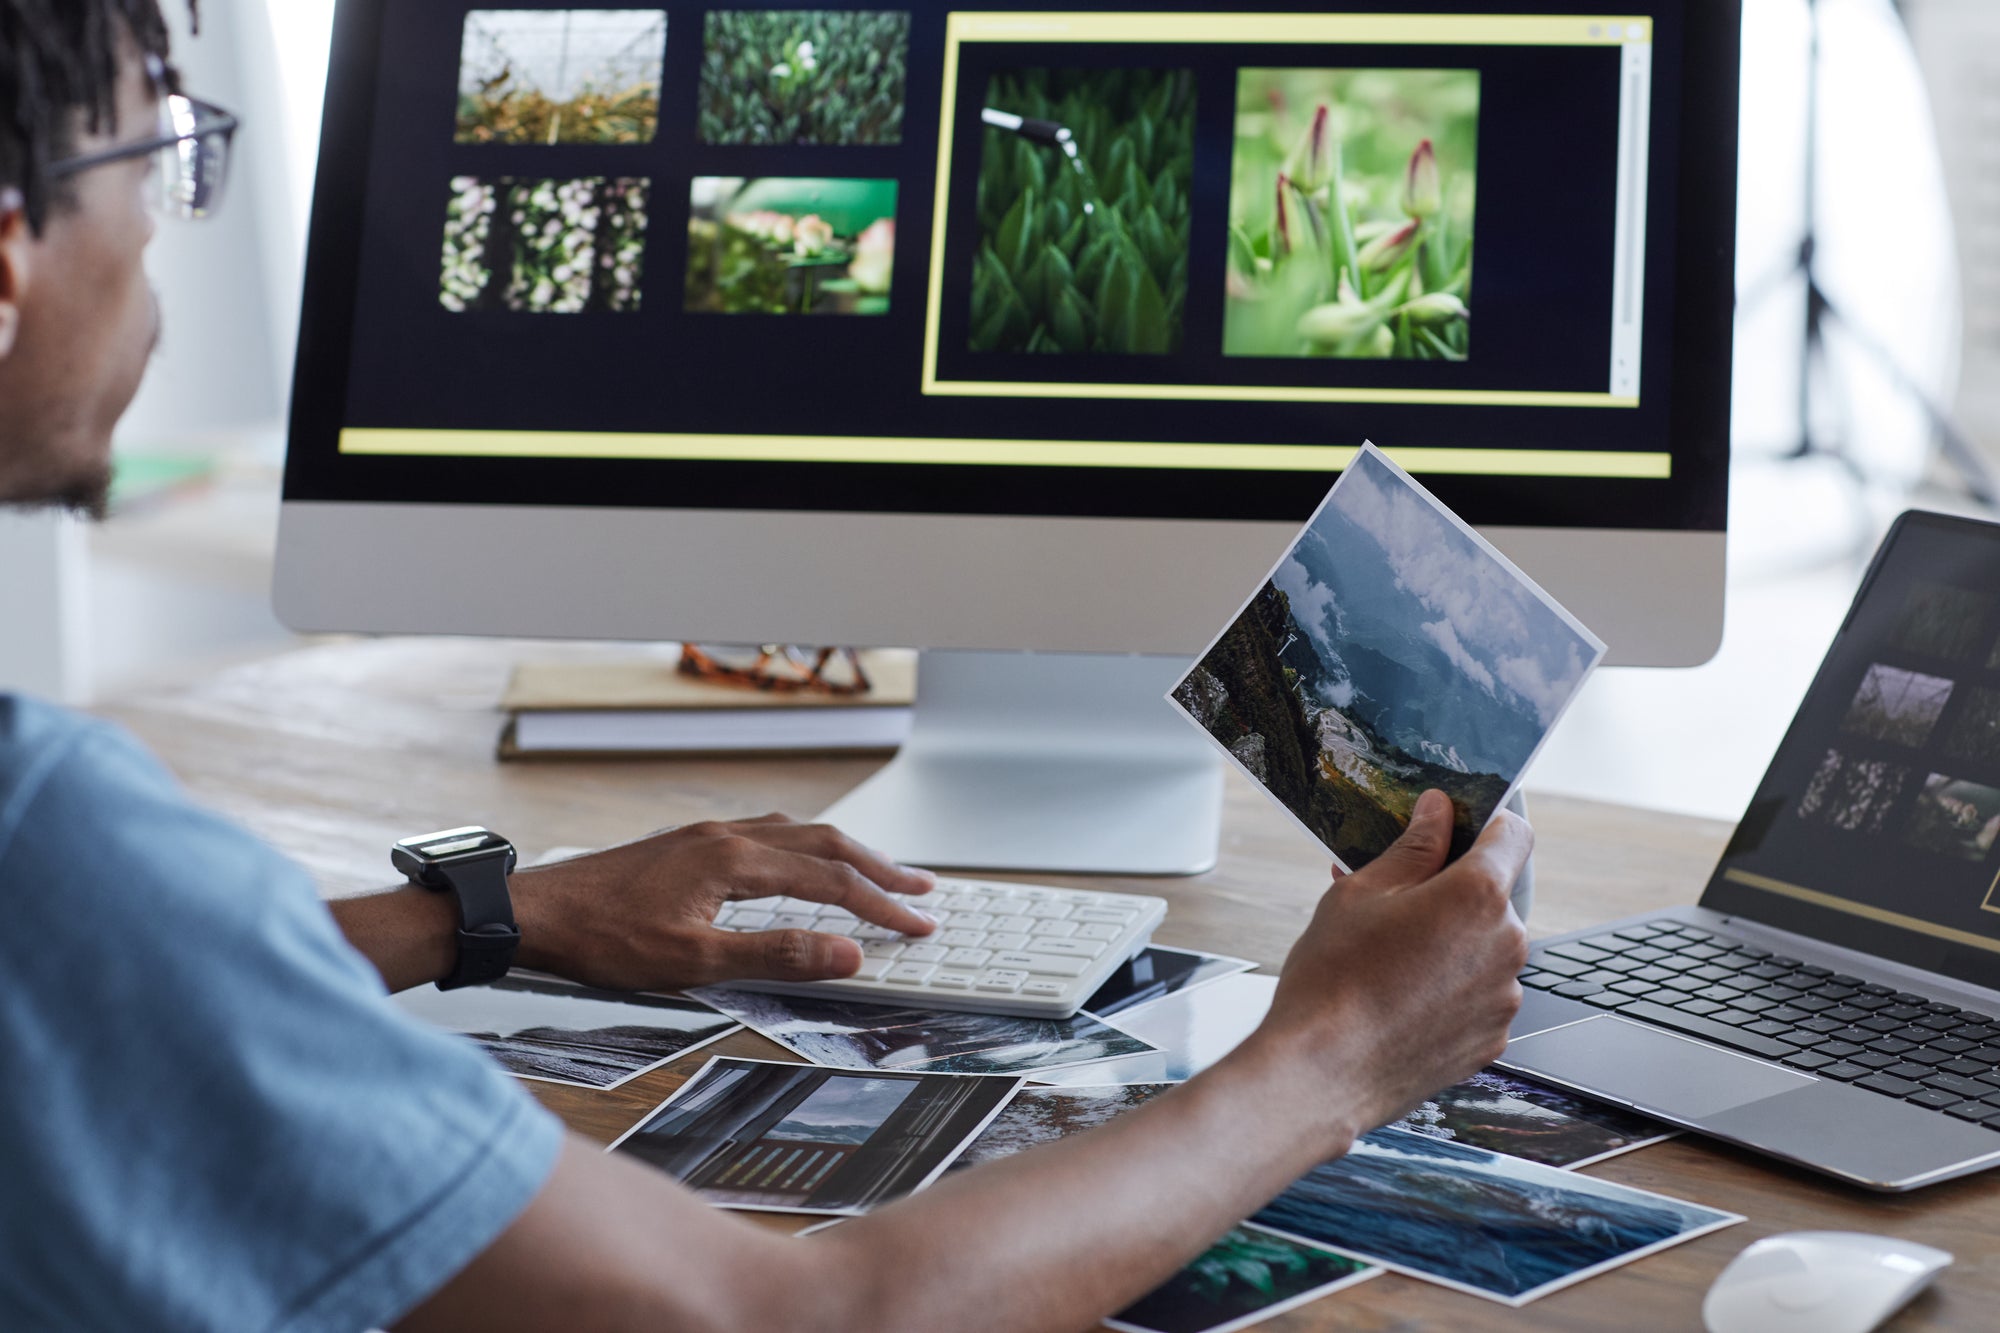
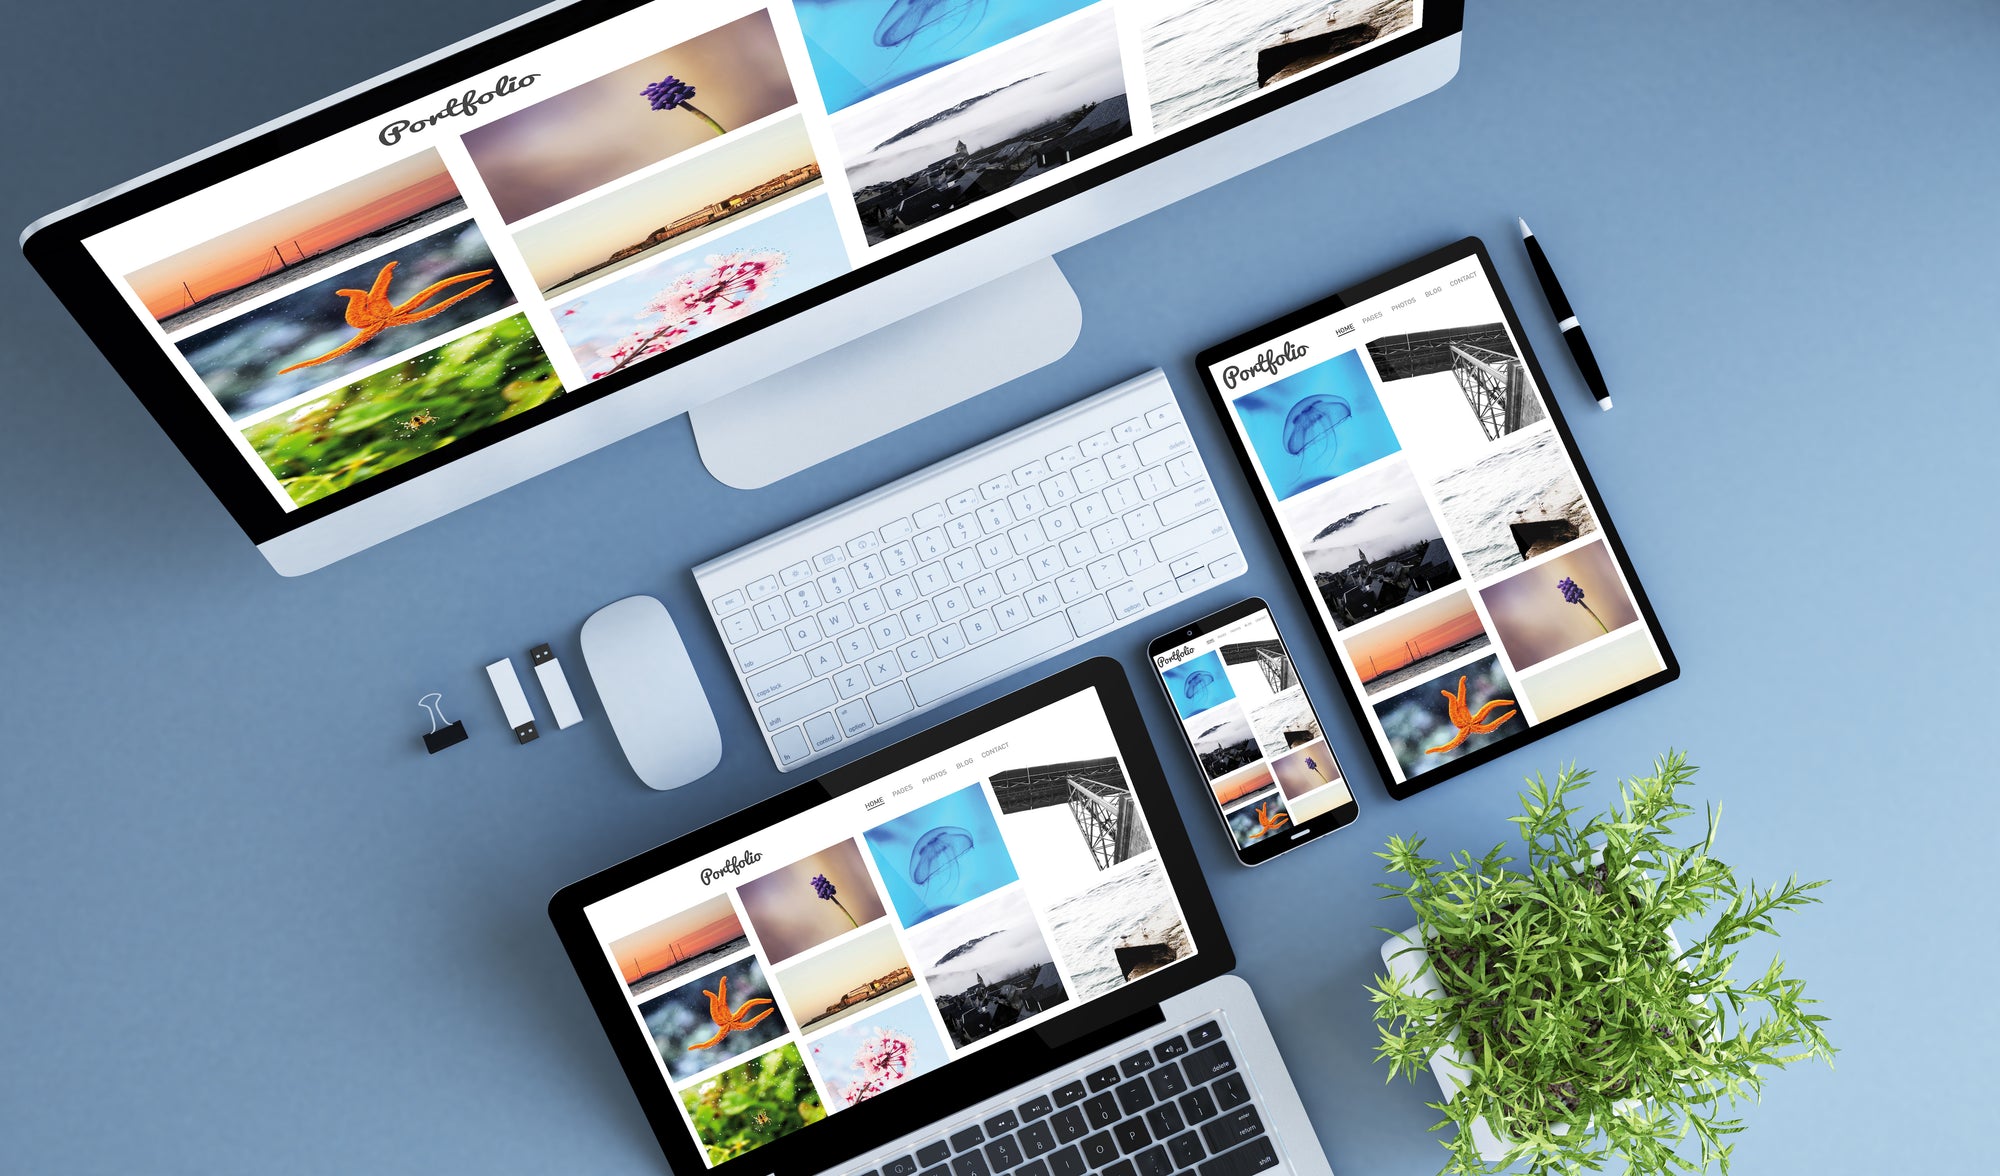
Although your guests won’t get a nifty little photo strip, you can create a digital photo album and upload it to the cloud, then share the link. You can also email a photo individually to each guest, or print it and send it with a thank you note as a special keepsake.
Leave a comment
Comments will be approved before showing up.
Also in Blog

How to Enlarge a Picture for Printing

How to Make a Digital Photo Album